Apart from classes and private trainings you can also create events at Matchable to boost your venue even further! In this article we will take you through the steps creating an event.
Events
- For special occasions, one-off events, or selling (many) tickets.
- Set up through the Matchable Manager and a customizable page
Create Event
Navigate in Manager to 'Services' > 'Classes' > 'Create new schedule'
- Schedule name
- Status:
Active - Class type:
Create a class type here - This will be the name, bio and picture - Ticket price
- Minimum people
- Maximum people
- Auto-cancel (...) hours before start:
Add a buffer for when registrations close - Cancellation policy:
People will be able to cancel the series with a complete refund before the first session. - Allow cancellation with refund:
Enabled / disabled - Max. tickets per client:
How many tickets can a client buy? - Set classes to private:
Enabled / disabled - VAT:
This will be shown on the receipt - Booking Buffer:
Clients can only book a set number of hours in advance. Leave empty if there is no limit. - Advance Booking Limit:
How far into the future is this service bookable. Leave empty if there is no limit.
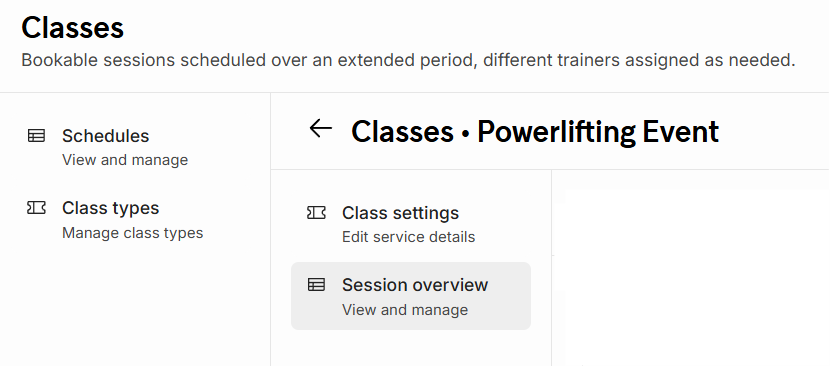
Session Overview
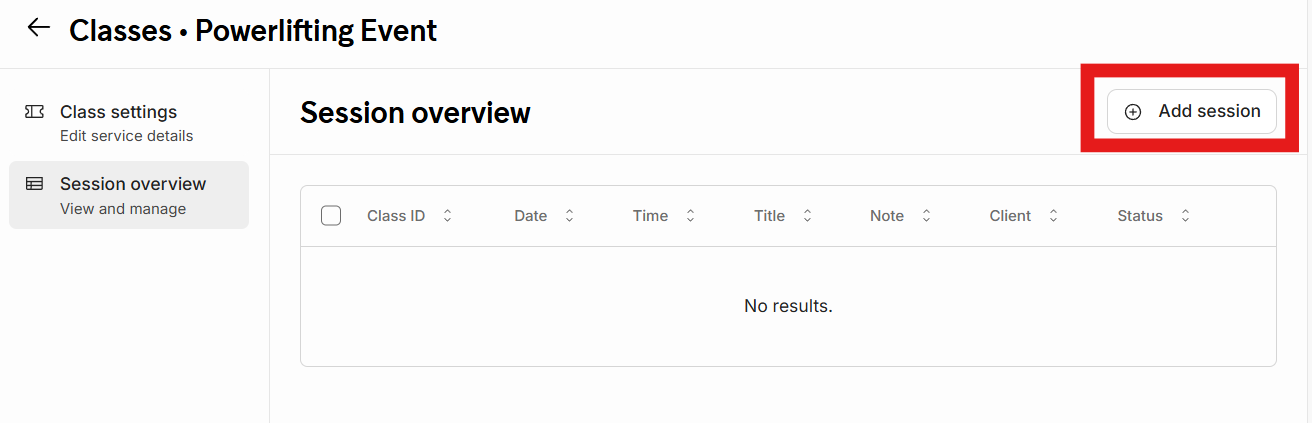
Once all of the needed fields have been filled out it's time to set up the event session. Save your progress and navigate on the left to 'Session overview'.
From here you can create the session. Click on the top right corner '+ Add session'
If you only wish to create 1 date for now you can deselect the switch 'Create multiple sessions'
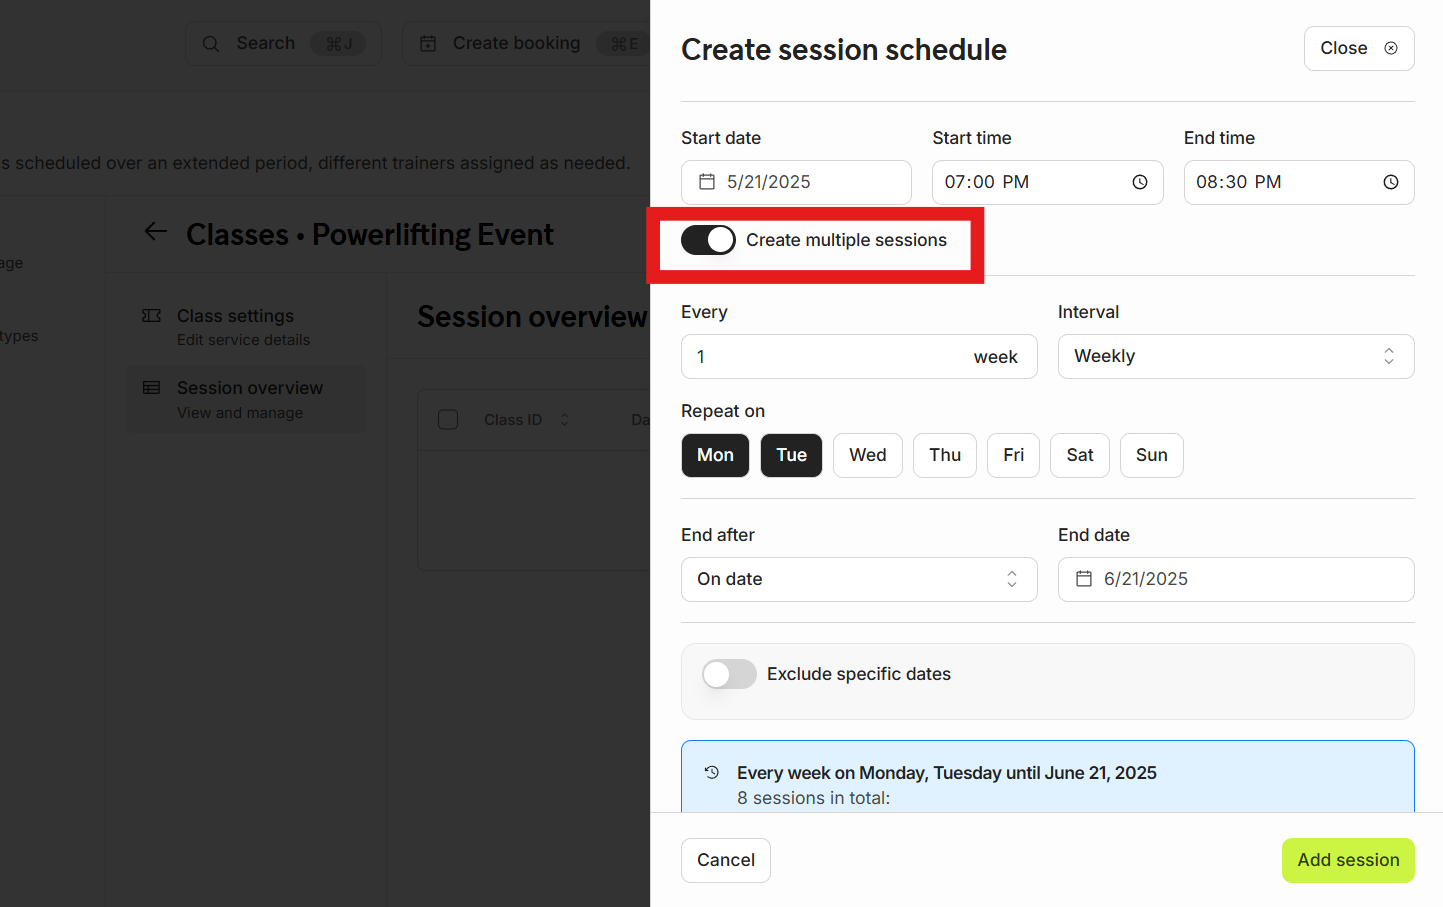
Fill out all needed fields and save your progress by clicking on 'Add session'. Once done the session will be visible on the Matchable website for clients.
Congratulations!
You have now created your first event!