¨Mollie is a financial technology group providing a broad range of financial services and technical products across Europe and the UK as part of our mission to make payments and money management effortless for every business.¨
Step 1. Create an account
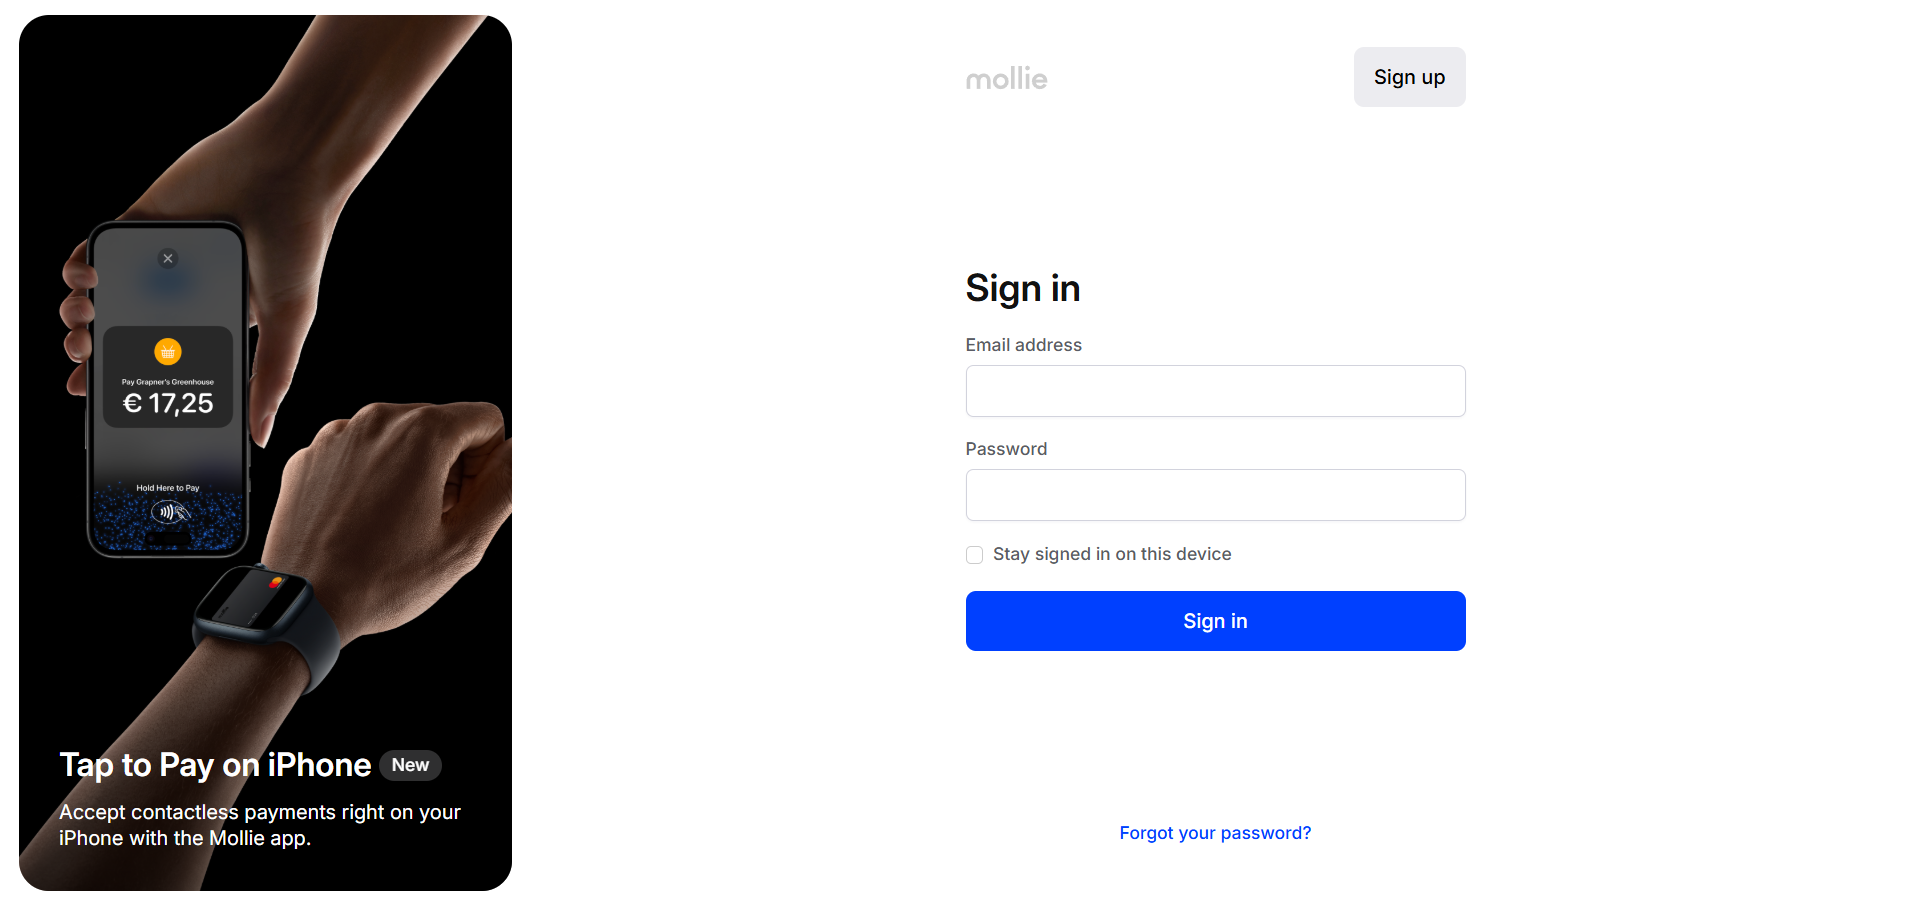
When clicking on 'Connect' at Matchable you will be directed to the Mollie Onboarding page where you can either sign in with your existing account or create one by clicking on 'Sign up' at the top right corner of the screen.
Step 2. Activate your account
In this example we will only show you how to create a Mollie account and connect it to Matchable.
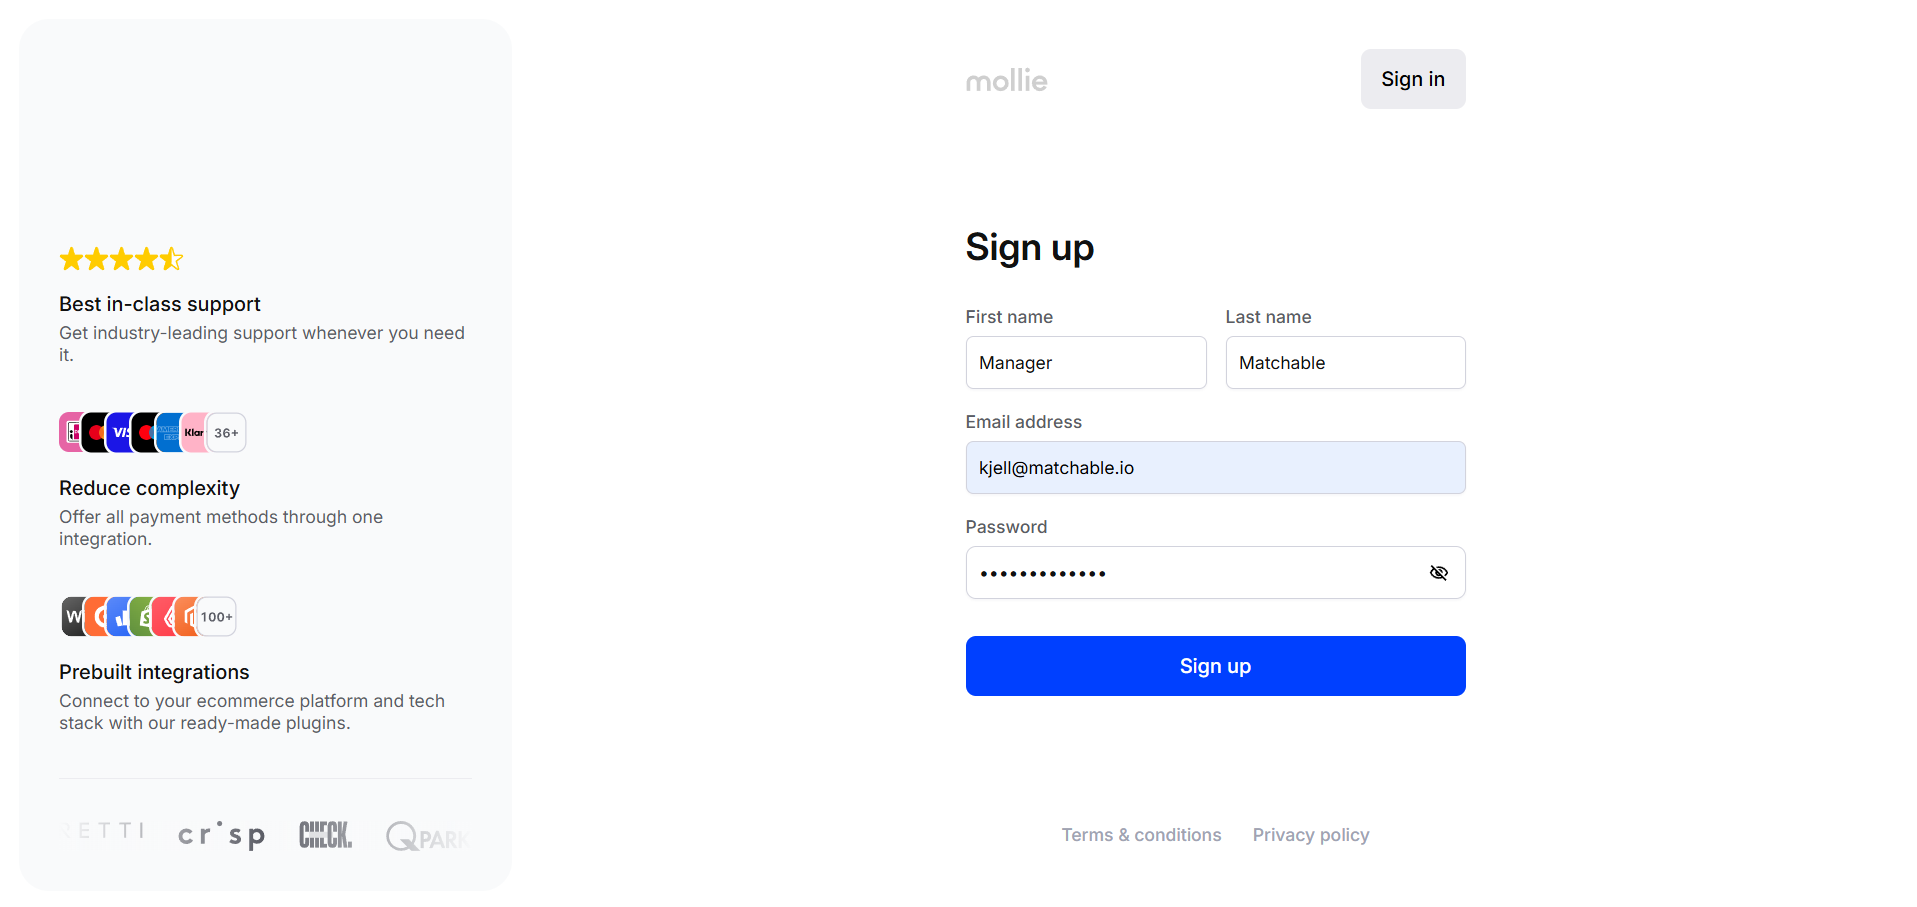
- Enter your name, email address and a password.
Check the box if you want to receive updates from Mollie. - Click on 'Create account'.
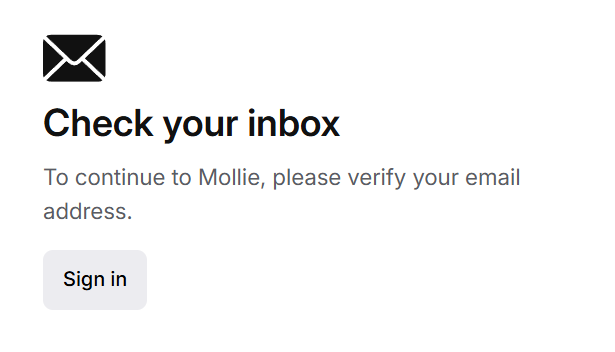
In case you do not receive Mollie's email, please, have a look in your SPAM folder.
After creating an account, you will find yourself on the 'Get started' page of your Mollie Dashboard. Click the blue button that says 'Start setup' to continue the sign up process.
Step 3. Enter your organisation’s details
Enter the information as it is registered with your local trade register.
- Enter the following information about your organisation:
- The business location.
- The company name.
- The legal form.
- Your registration number (Chamber of Commerce number).
- The address, postal code and city.
- Enter the expected trade volume of your business.
- Enter your VAT number.
- After agreeing with the terms and conditions, click 'Next'.
Step 4. Enter your stakeholder information
Enter the details of the legal representative.
- Enter whether the legal representative is an Ultimate Beneficial Owner (UBO). This is someone who has an interest of more than 25% of the company.
- If the legal representative is not an UBO or if there are multiple UBO’s, enter the UBO at 'Add ultimate beneficial owner'.
- Check the box at the bottom of the page to confirm that you have truthfully completed the stakeholder information.
- Click 'Next'.
Step 5. Enter your website details
Enter your website’s URL.
- If you use a third-party invoicing system instead of your own website, enter that billing service’s URL. Examples of third-party invoicing system are Exact and Afas.
- Enter if your website is online or not.
- Tell us a bit more about the products or services you provide. We need this in order to approve your account.
- Enter your contact details:
- The name under which your organisation is registered at your local trade register.
- Your organisation’s email address.
- Your organisation’s phone number.
- Make sure the required information is available on your website.
- Click 'Next'.
Step 6. Activate the payment methods you want to offer
Toggle the switch to the right of a payment method to activate it.
- Behind every method, you will see a button with 'Pricing & Info'. Here you’ll find more information about the payment method.
- With some payment methods, a pop-up will appear when you toggle the switch. This will show additional information. You may need to complete additional steps to fully activate the payment method.
- Read more information about our payment methods in Mollie's Help Centre.
- Click 'Next'.
You can now receive payments. To enable payouts, click the blue button to Finish setup.
Step 7. Upload ID
Upload a copy of the ID of each legal representative.
- Click 'Upload ID'.
- Select your ID type.
- Choose the way you prefer to upload the ID and follow the steps.
- Make sure the copy meets Mollie's requirements, or your application will be rejected.
- Click 'Next'.
Step 8. Additional information non-profit organisations
If you’re a non-profit organisation, please enter additional information.
- Tell us whether you’re a Public Benefit Organisation (PBO).
- Enter the countries your organisation is active in or that benefit from your organisation’s activities.
- Click 'Next'.
Step 9. Add your bank account
Share your business IBAN bank account number. Mollie will transfer money to this account. This can be done in 2 ways, manual (all markets) and automatic (France / Germany / United Kingdom).
Manual - how does it work?
- Make sure your bank account meets Mollie's requirements.
- Choose a payment method from the list to verify the bank account.
- Click 'Next'.
- Follow the instructions for the payment method you have selected.
- Click 'Complete account'.
Mollie will now check your bank account. You will receive an email once they have reviewed your bank account.
Automatic - how does it work?
In France, Germany and United Kingdom, Mollie offers the ability to share your bank information via Plaid.
- Choose 'connect' in the automatic section on the bank account verification page.
- Plaids pop-up window will open sharing, click 'Continue'.
- In the next screen choose 'Allow'.
- Select the bank where your bank account is registered and log in.
- Click 'Next' at the bottom of the page to continue.
Plaid will only share your IBAN and Account holder name with Mollie. Mollie will only receive this information once.
Linking Mollie to your website
Mollie now has all your information, and you are ready to link Mollie to your website. They made a list of the possibilities for all types of websites or webshops.
Congratulations!
You have successfully created your Stripe account. Stripe will get in touch with you shortly once your account has been reviewed. Note: keep a close eye on your SPAM folder, too.